
The calculation explained
A sheet count is a starting layout
Wall area comes from perimeter multiplied by height. A selected ceiling adds length multiplied by width. The total is divided by 32 square feet, the face area of a 4-by-8 sheet, after the waste allowance is applied.
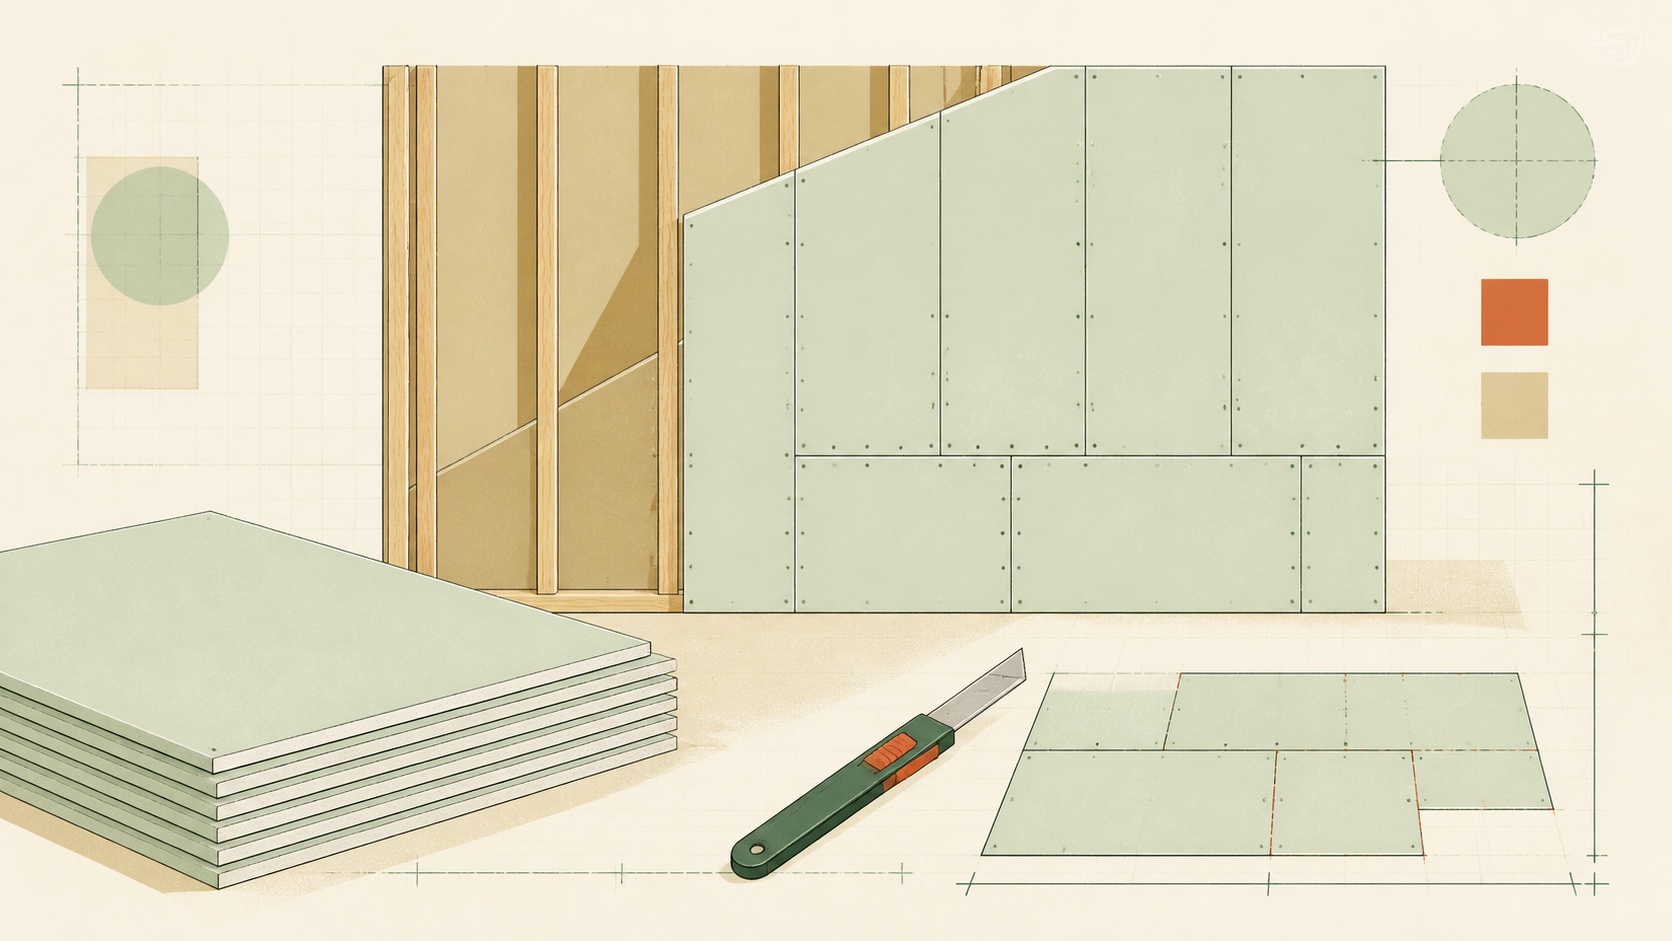
Actual sheet orientation and framing spacing determine where seams land. Taller walls may be faster with 4-by-10 or 4-by-12 sheets even when the raw square-foot count is similar. Fire-rated assemblies, wet areas, garages, and ceilings can require specific panel types or thicknesses.
Complete planning guide
How to plan your drywall calculator estimate
Use the calculator for the arithmetic, then use this guide to check the measurements, assumptions, purchasing decisions, and field conditions behind the result.
Plan sheets from surfaces and framing
A drywall estimate converts wall and ceiling surfaces into sheets, but sheet count is shaped by orientation, framing spacing, room height, openings, and the desire to reduce seams. Longer panels may cover a wall with fewer butt joints, while smaller panels can be easier to move through a finished house. The calculated square-foot requirement is a baseline; a sheet layout is the better final check because narrow returns and staggered joints can consume panels inefficiently.
Separate board types and thicknesses. Standard interior board, moisture-resistant products, abuse-resistant panels, shaft or fire-rated components, and exterior gypsum sheathing are not interchangeable. Product instructions, project documents, and any applicable local requirements should control board selection, fastening, layer count, and joint treatment. Estimate material only after those decisions are made.
Measure each boarded face and sketch seams
Measure wall length and board height for every room face, including short returns above doors, closet interiors, soffits, and stairwell walls. Measure ceilings as plan rectangles, breaking irregular areas into smaller shapes. For sloped ceilings, use the actual slope length rather than the horizontal floor projection. Add both sides of partitions when both receive board. Keep a separate subtotal for each board type, thickness, and layer.
Next map panel orientation against framing. Record stud or joist spacing and verify that every panel edge lands on suitable backing under the chosen installation method. Convert mixed dimensions consistently: 9 feet 6 inches is 9.5 feet. Divide area by 32 square feet for a 4-by-8 sheet, 40 for 4-by-10, or 48 for 4-by-12, but use this only as a first pass before laying out whole sheets.
Worked example: walls and ceiling in one room
Take a 12-by-15-foot room with 8-foot walls. The 54-foot perimeter multiplied by 8 feet gives 432 square feet of wall. The ceiling adds 180 square feet, for 612 square feet gross. A 3-by-7-foot door and two 3-by-4-foot windows total 45 square feet. Subtracting those large openings leaves 567 square feet. Adding 10 percent for cuts and damage produces 623.7 square feet, which would be 19.5 nominal 4-by-8 sheets, rounded to 20.
The layout check changes how that number is purchased. The 15-foot walls cannot be covered across their full length by one horizontal 12-foot panel, and the ceiling's 12-foot dimension suits 4-by-12 sheets arranged in strips. A practical order might combine 4-by-12 ceiling panels with wall lengths selected to reduce butt joints, rather than buying twenty 4-by-8 sheets indiscriminately. Recalculate each subgroup by its actual sheet area and round each type upward.
Choose panel sizes and accessory quantities
Select panel length after checking delivery path, turning clearance, ceiling lift access, and available labor. Fewer seams can save finishing time, but a damaged long sheet or an impossible stair turn erases that advantage. Order each thickness and edge profile explicitly; tapered and square edges serve different positions in a planned layout.
Estimate screws from the required fastening schedule and framing layout, not from a loose per-sheet habit. Joint tape follows seam length, while compound demand changes with finish level, bead, number of coats, tool technique, and whether fasteners are finished by hand or machine. Count outside-corner bead and trims by linear length, adding appropriate splice and cut allowance. Adhesive, control joints, backing, and specialty accessories should follow the selected system details.
Common drywall-estimating mistakes
- Using floor area for the whole room omits wall surfaces. Walls depend on perimeter times height, while ceilings depend on plan area; calculate both and include both sides of new partitions.
- Dividing total area by one sheet size without a layout treats every offcut as reusable. Corners, openings, staggered joints, and changes in board type can strand otherwise adequate square footage.
- Forgetting soffits, window returns, closets, or sloped surfaces creates late shortages. Sketch all boarded faces and use actual slope dimensions rather than their horizontal projection.
- Combining different thicknesses or performance types into one total can lead to the wrong product on a critical surface. Maintain separate counts even when package dimensions match.
- Choosing the longest available panels before checking access can make delivery or installation impractical. Measure corridors, stairs, doors, and turning space as part of procurement.
Verify the board schedule
Walk every room and mark walls, both partition faces, ceilings, slopes, soffits, closets, large deductions, and board-type boundaries on the sketch. Recompute gross and net area, then draw panel courses for each face. Confirm framing direction, edge support, orientation, stagger, sheet dimensions, and the number of full panels each type requires. Apply waste within each product group and round to whole sheets only after that layout.
Before ordering, verify current installation instructions and any project-specific assembly requirements for thickness, span, fasteners, layers, joints, and wet or rated locations. Check that selected sheets can physically reach the work area and be handled safely. Review tape, compound, bead, screw, adhesive, and lift needs using their separate measurement bases. The final quantity should match a buildable seam plan, not merely a favorable square-foot division.
Reproducible validation
How we tested this calculator
4/4 matched
Each row compares an independently stated expected result with the output returned by the published calculation engine. These are computational checks, not claims about material consumed in a field project.
| Case | Test inputs | Expected | Actual | Result |
|---|---|---|---|---|
| D-WALL | 12 × 10 × 8 ft; walls only; 0% waste | 11 sheets | 11 sheets | Match |
| D-CEIL | 12 × 10 × 8 ft; ceiling; 10% waste | 17 sheets | 17 sheets | Match |
| D-DEFAULT | 16 × 12 × 8 ft; ceiling; 10% waste | 22 sheets | 22 sheets | Match |
| D-LARGE | 24 × 18 × 9 ft; ceiling; 15% waste | 43 sheets | 43 sheets | Match |
Full reports and datasets
Reference check
Sources and assumptions
Formula and assumptions reviewed by Alex Carter.
The calculator totals the wall and ceiling surfaces, adds the selected waste allowance, and divides by the sheet area. A 4-by-8-foot panel covers 32 square feet before cuts; framing layout, openings, orientation, fire or moisture ratings, and local code can change the sheet plan.
These references inform the method. The selected product label, supplier quantities, site conditions, and locally adopted requirements take precedence.
Before you buy
- 01
Sketch sheet seams around doors and windows before ordering.
- 02
Use moisture-resistant panels only where the assembly permits them.
- 03
Plan safe handling for long or ceiling sheets.
Common questions
Drywall Calculator FAQ
Are doors and windows subtracted?+
No. The uncut sheet area over openings is generally consumed by cuts and offcuts, so leaving openings in the estimate is a practical allowance.
Does this estimate joint compound and screws?+
No. It estimates sheets only because fastener and compound needs depend heavily on framing and finishing level.