
The calculation explained
Coverage width controls board count
Each course covers the board face plus the designed gap. Dividing deck area by that coverage width gives total linear footage, which is divided by the stock length and increased for cuts. The result assumes boards run along the deck length without a picture-frame border.
Diagonal decking, breaker boards, borders, stairs, and complicated framing require separate takeoffs. Actual gaps should follow material and fastening guidance because wood moisture and composite expansion behavior differ. Structural framing is outside this calculator’s scope.
Complete planning guide
How to plan your deck board calculator estimate
Use the calculator for the arithmetic, then use this guide to check the measurements, assumptions, purchasing decisions, and field conditions behind the result.
Estimate deck boards from rows and stock lengths
Deck-board quantity is controlled by the dimension perpendicular to the board direction, the installed board width, and the lengths needed across framing. Dividing deck area by a nominal board area gives only a rough check because gaps, picture-frame borders, breaker boards, butt joints, and unusable end cuts change coverage. A row-by-row layout is the reliable bridge between measured deck geometry and purchasable stock lengths.
Keep decking types separate by color, profile, and function. Field boards, borders, stair treads, fascia, and skirting may use different lengths or profiles even when their faces look similar. Quantity planning does not establish joist spacing, span, fastening, ventilation, waterproofing, or structural adequacy. Follow the chosen decking system, framing plan, project requirements, and local conditions before calculating boards.
Measure rows, runs, and framed openings
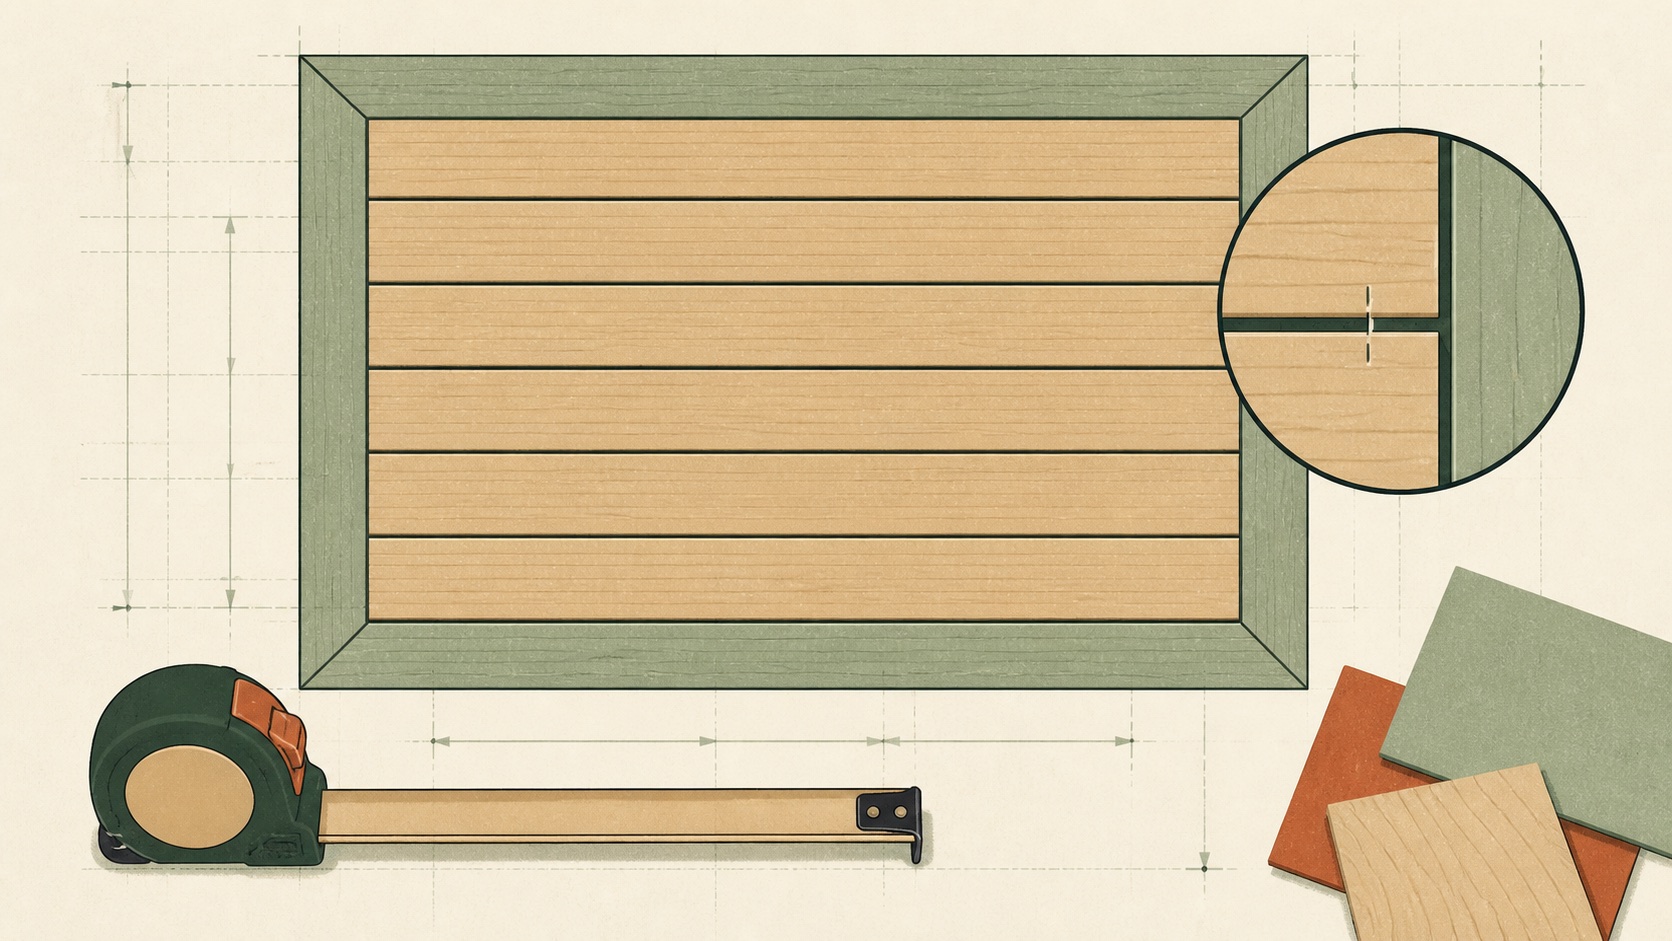
Draw the finished deck, including stairs, house wall, outside edges, angles, posts, and openings. Mark the direction of field boards and any border or divider. Measure deck width perpendicular to the field boards. Divide that distance by the installed module, which is actual board width plus the planned gap, then adjust the first and last row widths to avoid a narrow rip. Do not use nominal 6-inch width when the actual face may be about 5.5 inches.
For each row, measure the required run parallel to the board and map where ends can land on framing. Compare available stock lengths and manufacturer limits for butt joints and overhangs. A 22-foot run might use two 12-foot boards with cuts, but those offcuts are useful only if they fit later rows. Subtract large framed openings while adding dedicated boards around their edges. Measure picture-frame borders and breaker boards in linear feet, then convert those lengths into actual stock pieces separately from the field.
Worked example: rectangular deck with border
Suppose a deck is 16 feet wide across the field-board rows and 20 feet along each row. A one-board picture frame occupies both sides perpendicular to the rows. The selected boards have an actual width of 5.5 inches and a planned 0.25-inch gap, creating a 5.75-inch module. After allowing 5.5 inches for each side border, the field width is 181 inches. Dividing by 5.75 gives 31.48, so layout work is needed for 32 field rows with balanced edge treatment.
Each of the 32 rows runs 20 feet. If 20-foot stock can be delivered and is permitted for the layout, that is 32 full field boards plus cut allowance. If only 12- and 16-foot stock is practical, every row needs a joint and board counts depend on the stagger plan; 640 linear feet divided by stock length alone would hide those joints. The two 20-foot side borders and two 16-foot end borders add 72 linear feet, with corner cuts. Add the manufacturer's recommended waste after producing this stock-length schedule, not before.
Choose lengths that fit framing and access
Build an order list by profile, color, and length. Longer boards reduce joints but may cost more, flex in handling, and be impossible to turn into the site. Check delivery access and storage support before selecting them. For capped or variegated decking, buy connected surfaces together and blend boards as directed. Inspect ends, faces, and profiles promptly while return or damage claims are possible.
Count hidden clips, screws, plugs, and start or finish fasteners from joist intersections and system coverage, not deck area alone. Borders and breaker boards often add blocking and fastener rows. Measure fascia and stair components separately. Keep several full-length or useful repair boards if future color matching is uncertain, while storing them flat and protected according to the product guidance.
Common deck-board-estimating mistakes
- Using nominal board width overstates each row's coverage. Calculate with actual face width and the intended installed gap.
- Dividing total linear feet by an average stock length assumes offcuts can join anywhere. Every end must land on suitable framing and follow joint rules.
- Forgetting picture frames or breaker boards understates both decking and blocking. Draw those features before measuring the remaining field.
- Subtracting post footprints as area ignores the extra cuts and edge details around posts. Small penetrations usually increase waste rather than save a board.
- Counting fasteners by board misses repeated joist intersections. Use the actual framing layout and the selected fastening system's installation schedule.
Verify the board-by-board layout
Recheck finished deck dimensions against the framing and mark board direction, borders, dividers, stairs, openings, and every legal end-joint location. Calculate the installed module and dry-plan the first and last rows. Create a cut list for each row using available stock lengths, then add a reasoned allowance for trimming, defects, and pattern selection.
Before purchase, verify current requirements for joist spacing, blocking, gaps, overhang, fasteners, and board orientation with the selected product and project plan. Confirm length availability, lot consistency, delivery route, and storage. The final order should be traceable to actual rows and cuts, with accessories tied to framing intersections and repair stock identified separately.
Reproducible validation
How we tested this calculator
6/6 matched
Each row compares an independently stated expected result with the output returned by the published calculation engine. These are computational checks, not claims about material consumed in a field project.
| Case | Test inputs | Expected | Actual | Result |
|---|---|---|---|---|
| DK-0125 | 16 × 12 ft; 5.5 in face; 0.125 in gap; 16 ft stock; 10% waste | 29 boards | 29 boards | Match |
| DK-0250 | 16 × 12 ft; 5.5 in face; 0.25 in gap; 16 ft stock; 10% waste | 28 boards | 28 boards | Match |
| DK-0375 | 16 × 12 ft; 5.5 in face; 0.375 in gap; 16 ft stock; 10% waste | 27 boards | 27 boards | Match |
| DK-12FT | Same deck and gap; 12 ft stock; 10% waste | 37 boards | 37 boards | Match |
| W-DK0 | 192 sq ft; 5.5 in + .25 in gap; 16 ft stock; 0% | 26 boards | 26 boards | Match |
| W-DK10 | Same deck; 10% | 28 boards | 28 boards | Match |
Reference check
Sources and assumptions
Formula and assumptions reviewed by Alex Carter.
The tool divides deck area by the coverage of one board using its face width plus the entered gap, then adds waste. Board expansion, end gaps, breaker boards, picture framing, stair treads, layout direction, stock lengths, and manufacturer fastening rules are not automatically included.
These references inform the method. The selected product label, supplier quantities, site conditions, and locally adopted requirements take precedence.
Before you buy
- 01
Plan board direction and seam locations before ordering.
- 02
Calculate picture-frame borders separately.
- 03
Confirm allowed joist spacing for the chosen decking.
Common questions
Deck Board Calculator FAQ
Does this include deck stairs?+
No. Stair treads, fascia, and rail components should be measured separately.
Why include the gap in coverage width?+
The repeated gap contributes to the total deck width, so including it avoids systematically overestimating the number of courses.